Documentation / Custom CSS
Custom CSS
Overview
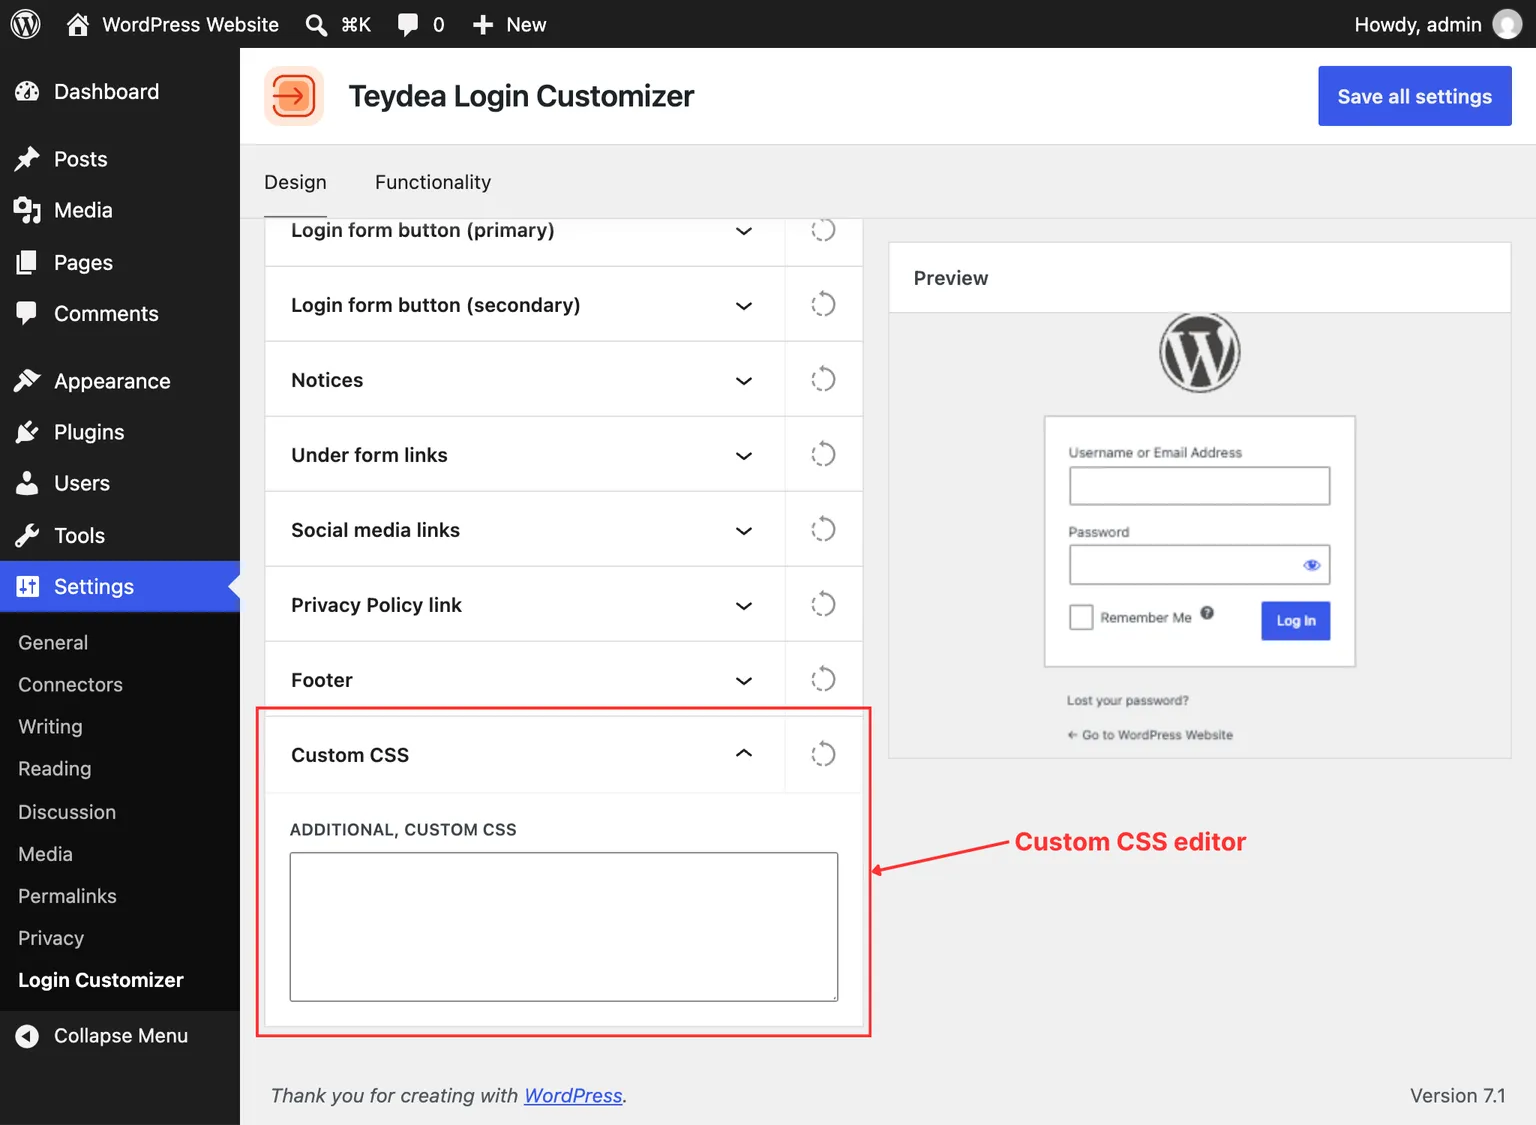
The Custom CSS panel lets you add your own CSS rules to the login page. This is useful for fine-tuning the design beyond what the visual settings panels offer, or for targeting specific elements that do not have dedicated settings.
Adding Custom CSS
- Navigate to Settings → Login Customizer.
- Open the Custom CSS panel in the Design tab.
- Enter your CSS rules in the code editor.
- The live preview updates immediately to reflect your CSS changes.
- Click Save all settings to apply.
Tips
- Custom CSS is added after the plugin’s generated styles, so your rules take precedence over the plugin’s default styling.
- Use your browser’s developer tools (right-click an element on the login page and select Inspect) to identify the CSS selectors you need to target.
- Test your changes in the live preview before saving. The preview shows exactly how your CSS will appear on the real login page.
When to Use Custom CSS
The visual settings panels cover the most common customization needs. Use custom CSS when you need to:
- Target a specific element that does not have a dedicated settings panel.
- Apply complex CSS properties like transitions, animations, or advanced selectors.
- Override styles from other plugins or themes that affect the login page.
Limitations
- Custom CSS applies only to the login page (
wp-login.php). It does not affect the rest of your WordPress admin or front end. - The CSS is validated and sanitized before being saved to prevent malformed rules from breaking the login page.